Understanding the Basics of Resin Candle Making
Choosing the Right Materials
When I first dipped my toes into resin candle making, I was a bit overwhelmed by the variety of materials available. You’ve got your resin types, molds, fragrances, and colorants, and trust me, picking the right ones can make or break your creations! I always recommend starting with high-quality epoxy resin, as it provides a clear finish and is food-safe if you’re interested in making candles for gifting or personal use.
Don’t forget about the mold! Silicone molds are a game changer because they’re flexible and super easy to work with. You can find them in all sorts of shapes to match your aesthetic, whether you’re going for a geometric vibe or a more organic look. Just make sure whatever mold you choose can withstand the heat of the resin pouring process!
Lastly, let’s chat about fragrances and dyes. I love experimenting with different scents, from sweet vanillas to refreshing citrus. And when it comes to color, the sky’s the limit! Just a few drops of dye can create stunning swirls or solid colors that are bound to impress.
Mastering the Pouring Technique
Preparation is Key
Before diving into pouring your resin, preparation is crucial! I always lay down a clean tarp or some newspaper to catch any drips and protect my workspace. This little step saves a lot of time on cleanup later and keeps the stress levels down!
Next, measure your resin and hardener accurately according to the manufacturer’s instructions. If you don’t follow the ratio precisely, your candles might end up tacky or not cure well, which is such a bummer after all the hard work you’ve put in!
And then there’s the mixing! I can’t stress enough how important it is to mix your resin thoroughly. I usually swirl my stick around in the cup for a good 3-5 minutes, scraping the sides and bottom to ensure everything is blended perfectly. This step is vital for achieving that crystal-clear finish we all love!
Adding Personal Touches with Embedded Designs
Choosing Your Embeds Wisely
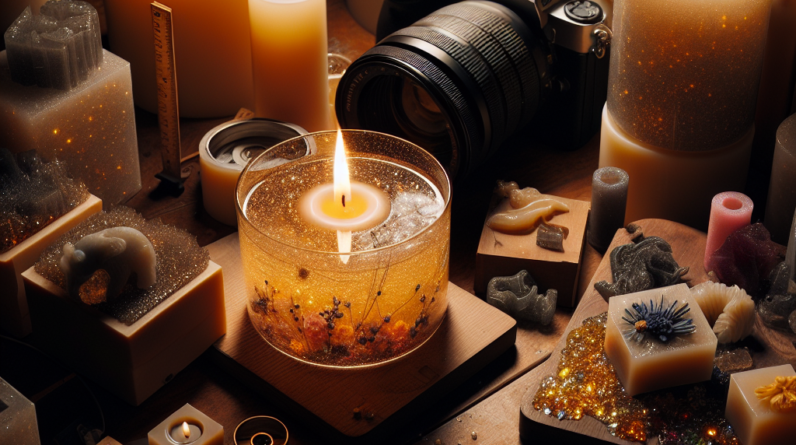
One of the coolest parts about resin candles is the ability to embed objects into them. From dried flowers to glitter, the choices are practically endless! When I first tried embedding flowers, I was amazed at how beautiful they looked once set in the resin. Just remember to use dried flowers; fresh ones can introduce moisture and spoil your masterpiece!
Glitters and colored stones also make for fantastic additions. They can add a pop of personality to your candles. I often use metallic glitters for an elegant feel or vibrant colored stones for a boho look. Just make sure to consider how they’ll look when the candle is lit; some colors may fade or alter when the resin cures.
Finally, consider layering! I love experimenting with different layers of colors and embeds. It can create a stunning visual effect when lit. I often pour a layer, let it sit, then add my embeds before pouring another layer on top. This technique not only looks fantastic but also adds depth to your candles.
Finishing Touches and Curing Time
Trimming and Smoothing Edges
Once your resin has cured and you’re ready to pop your candles out of the molds, take a moment to admire your creation! However, you might notice some sharp edges or imperfections. No worries! I always keep a pair of gloves, and I use a fine-grit sandpaper to gently smooth out any rough spots. It’s a simple step, but it makes a big difference in the final product’s look and feel.
You might also want to consider adding a wick holder if you’re making candles with wick placement in mind. I usually use a simple wooden stick placed across the mold’s top with the wick attached. It keeps everything centered during the curing process, helping to ensure an even burn later on!
Lastly, patience is key during the curing process! Each resin type has its own curing time, so make sure to follow the guidelines. I often let my candles sit for about 24-48 hours before using them, and this patience pays off when you see the gorgeous end product.
Marketing Your Unique Candle Creations
Creating Your Brand Identity
Now that you’ve made your candles, it’s time to think about how to market them. Your brand identity is super important to stand out. I always suggest coming up with a catchy name and a memorable logo. You want something that reflects your unique style and echoes the essence of your handcrafted products.
Social media is a fantastic tool for showcasing your creations. I love using platforms like Instagram to share beautiful photos of my candles, complete with engaging captions that tell the story behind each piece. It’s all about building a community and connecting with potential customers who share a love for unique, handmade items.
Lastly, don’t underestimate the power of local markets and online platforms. I often participate in craft fairs to meet customers face-to-face, and I also list my candles on sites like Etsy. Building that local presence helps grow my brand’s visibility while connecting me with customers who appreciate handcrafted items!
Frequently Asked Questions
1. What materials do I need to start making resin candles?
You’ll need high-quality epoxy resin, silicone molds, a measuring cup, mixing sticks, a heat gun, scents, and dyes. Don’t forget your safety gear like gloves and a mask!
2. How long does it take for resin candles to cure?
Curing time can vary based on the type of resin you use, but typically it’s around 24 to 48 hours for a solid cure. Always check the manufacturer’s instructions!
3. Can I use fresh flowers in my resin candles?
It’s best to use dried flowers as fresh ones can introduce moisture into the resin, which may affect the curing process and the final look of your candle.
4. How can I market my resin candles effectively?
Build a strong brand identity, utilize social media platforms like Instagram, engage in local craft fairs, and consider selling online through platforms like Etsy to reach a broader audience.
5. What are some good scents to use in resin candles?
Some popular choices include lavender, vanilla, citrus, and seasonal scents like pumpkin spice. Just ensure they are specifically designed for use in hard surfaces like candles.


