Hey there! Today, I’m excited to share my journey into the vibrant world of resin and how it completely transformed the way I make candles. If you’ve ever found yourself staring at plain candles and wished for something more eye-catching, you’re in the right place. I learned firsthand that with a little creativity and resin, you can elevate your candles from plain to extraordinary. So grab your gear, and let’s dive into this colorful adventure!
Creating Unique Designs
Experimenting with Colors
When I first dipped my toes into resin art, color experiments were my jam! I started mixing various pigments into the resin, and wow, the results were stunning. I learned that using multiple colors can create a marbled effect that adds depth and interest to my candles. Keep in mind, the possibilities are practically endless. You can go for bold, vibrant hues or soft pastels; it all depends on your mood!
My favorite trick was layering colors. I would pour one color, let it partially set, and then splash another on top. This technique not only makes each piece unique but also adds a dramatic flair. Watching the colors swirl together was like magic happening right in my hands!
One thing I recommend is to play around with transparent and opaque pigments. Mixing these can create beautiful gradients and transparent layers, giving your candles that extra sparkle. Trust me, your guests will be blown away when they see your masterpieces!
Integrating Natural Materials
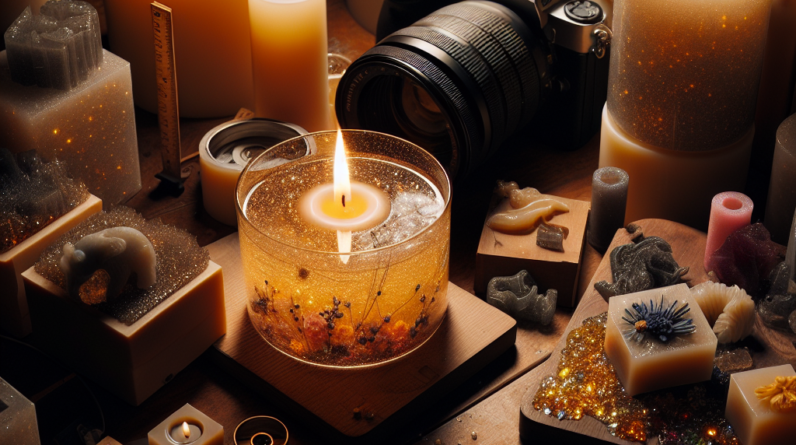
One of my favorite aspects of playing with resin is incorporating natural elements like dried flowers, herbs, or even shells. Initially, I thought it could be tricky, but it turned out to be incredibly fun and gave my candles a nature-inspired aesthetic. I often gather flowers from my garden, making each candle reflect the season’s beauty!
To make this work, I learned to choose materials that can withstand the heat of the candle flame. Not every flower or leaf will hold up in resin, so do some research beforehand. But once you find the right ones, you’ll be amazed at how lovely they look suspended in resin.
Also, aligning these materials during the pouring process can be a bit of an art itself. I found that if I poured carefully around them, it created a beautiful, almost ethereal look. It’s a great way to personalize your candles and tell a story through your choices!
Adding Texture
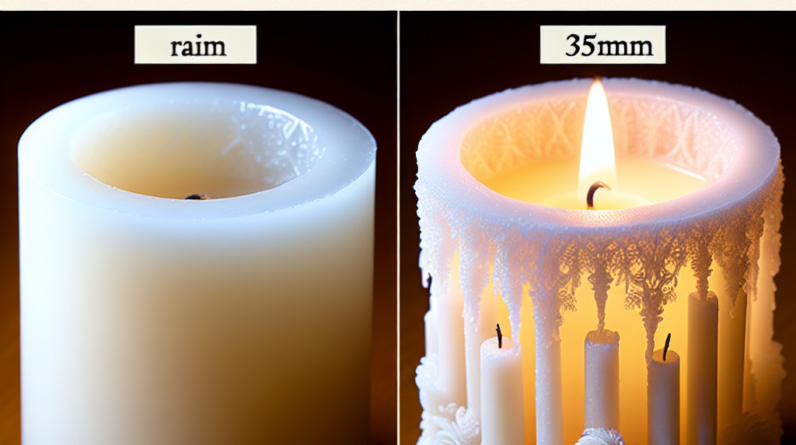
Texture is where the fun truly begins! I began experimenting with different molds and techniques to add dimension to my candles. Whether it’s using a textured mold or incorporating sand, glitter, or even metallic flakes, this element is what takes a good candle to a jaw-dropping masterpiece.
Using a textured mold allows you to play around with the surface. Just imagine a candle that looks like it’s wrapped in burlap or has a smooth, marble-like finish. The tactile experience is simply delightful! I often find myself just enjoying the feel of these candles.
Another tip for adding texture is to scatter chunky glitter or beads during the pouring process. When the resin sets, it creates visual interest and catches the light beautifully. Trust me; it’s all about the details. Each little touch can take your candle game to the next level!
Choosing the Right Resin
Understanding Types of Resin
When I started out, choosing the right resin was super confusing. There are so many options available! I realized I needed to understand the different types to make an informed decision. Epoxy resin is what I gravitated toward: it’s easy to work with and great for beginners.
Then there’s polyester resin, which has its perks too, but it’s a bit trickier. I found that epoxy gave me a good balance between workability and curing time, which is perfect when you’re just starting. The last thing you want is to rush because your resin isn’t cooperating!
It’s also essential to pay attention to the pot life of the resin. This term refers to the time you have before the resin starts to set. This is crucial when you’re mixing colors or adding materials, as you don’t want to feel rushed. I always lean towards those with longer pot life, especially when I’m feeling adventurous!
Safety First!
I can’t stress enough how important safety is when working with resin. When I first began, I learned the hard way about the importance of proper ventilation. Resin fumes can be potent, so I always make sure to work in a well-ventilated space or even wear a mask, just to be safe! Your health matters!
Also, don’t forget about gloves! Resin can be messy, and once it’s on your skin, it can be a challenge to remove. Protecting your hands is a simple yet effective way to enjoy the process without the cleanup headache afterward.
Investing in safety gear might seem like a hassle, but trust me, it makes a world of difference. I remember one session where I didn’t wear my gloves, and let’s just say, it was an uphill battle getting everything clean again. Lesson learned!
Learning to Mix
Mastering the art of mixing resin can be a game-changer. At first, I was just eyeballing everything—big mistake! I quickly realized that precision matters when it comes to the resin-to-hardener ratio. I recommend using a scale for accurate measurements!
Additionally, mixing techniques matter! I found that stirring gently helps minimize bubbles. Too much agitation can introduce air pockets, which are a no-go for a smooth finish. It became kind of a zen moment for me, getting into the rhythm of mixing just right.
Lastly, patience is key! I learned that letting the mixture sit for a few minutes before pouring can enable those stubborn bubbles to escape. Taking that extra time has totally paid off in the final results!
Enhancing the Candle Experience
Choosing Fragrances
Let’s talk scents! During my journey into resin candle-making, I quickly realized that choosing the right fragrance is crucial. The scent can embrace your senses and take your candles from ordinary to extraordinary in no time! I find that finding a fragrance that matches the aesthetic adds an extra layer of delight.
Mixing essential oils with the resin can produce beautiful and calming vibes. I like to test different combinations and see what resonates with me. Sometimes I lean towards fresh florals, while other times I go for warm, spicy scents. It’s a fun experiment every time!
Always remember to keep the fragrance load in mind. Not all scents work well with resin, so it’s important to check their compatibility. A little research here goes a long way and can guide you in creating that perfect aromatic experience.
Creating a Mood
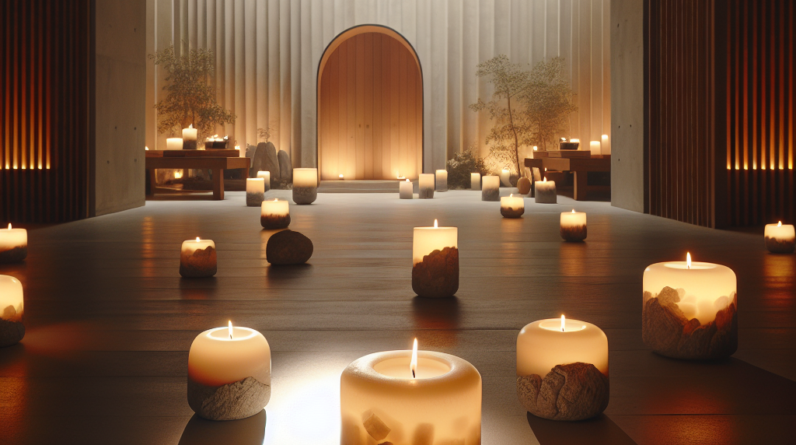
Part of the magic of candles is their ability to set the mood. I often consider where my candles will be used: are they for a cozy night in or a lively party? This consideration totally influences my design choices. For a chill evening, I might opt for soft colors and soothing scents, while a festive gathering might call for bold hues and vibrant fragrances!
I also enjoy how different shapes and sizes can create different atmospheres. Tall, slender candles can feel elegant, while chunky geometric shapes feel modern and fun. Playing with these elements helps me curate the perfect vibe for any occasion!
Don’t forget to think about the lighting too! I love placing my resin candles in clusters with varied heights. The soft glow of the flames against the resin’s shimmer creates a breathtaking effect that leaves everyone in awe.
Gift Giving Done Right
Another great aspect of resin candles is they make for awesome gifts! From personal experience, I find that giving a homemade candle infused with your creativity and spirit adds a unique touch. Friends and family absolutely love receiving these personalized gifts!
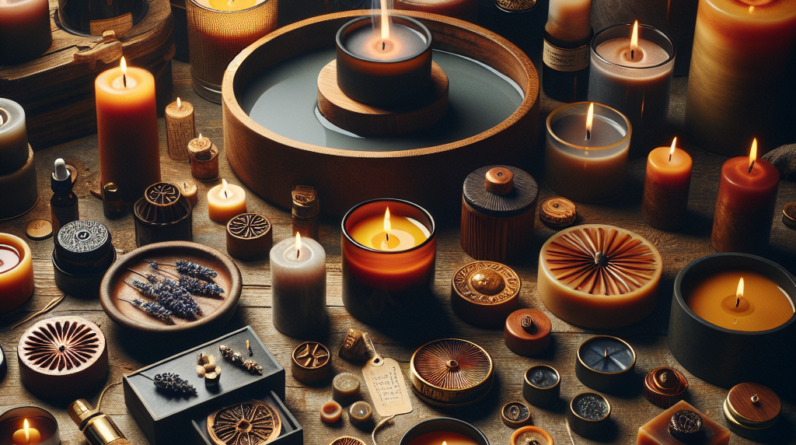
To make them feel extra special, I often package my candles beautifully. Think about pretty boxes or even a simple twine wrap with a heartfelt note. This kind of attention to detail really elevates your gifts and shows you put in that extra effort.
And let’s not forget: giving a customized scent or design that reflects the recipient’s personality is such a thoughtful touch. It shows you’ve put real thought into their gift, making it even more memorable!
Frequently Asked Questions
1. Can I use any type of resin for candle-making?
It’s best to use epoxy resin, as it’s user-friendly and cures well. Avoid polyester resin for candles, as it can release harmful fumes when burned. Always check compatibility with candle-making!
2. How do I prevent bubbles in my resin?
To minimize bubbles, mix slowly to avoid agitation. Let the mixture sit for a few minutes before pouring, allowing bubbles to rise to the surface. If needed, you can also use a heat gun to pop any remaining bubbles.
3. What kind of fragrance can I use with my resin candles?
It’s crucial to use fragrance oils specifically made for candles or are compatible with resin. Always check the manufacturer’s guidelines regarding scent load to ensure great results.
4. How long does it take for resin to cure?
Curing times can vary based on the type of resin and environmental conditions, but most epoxy resins take about 24 to 72 hours to cure fully. Be patient and let them set properly for the best outcomes!
5. Can I reuse molds for resin candles?
Yes, resin molds can be reused! However, make sure to clean them thoroughly after each use to maintain their quality and prevent any residue from affecting your future projects.


