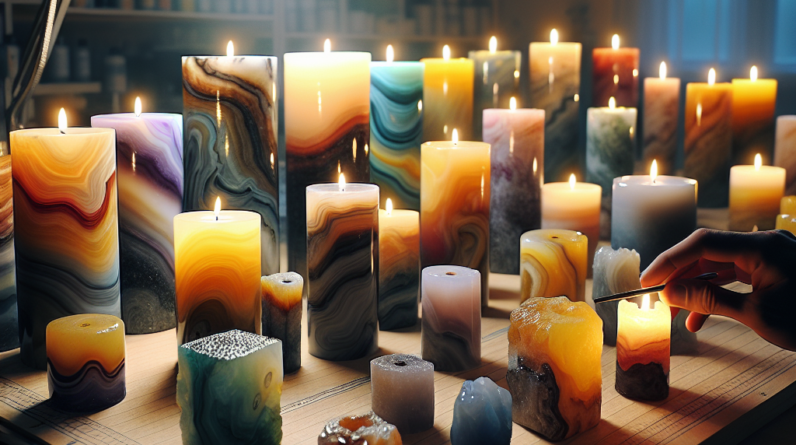
Hey there, fellow candle enthusiasts! Today, I’m ready to dive deep into a topic that I absolutely love—testing resin stone candles. I’ve spent so much time working with these unique candles, and I can’t wait to share my insights on how to properly test them. It’s all about ensuring that they burn beautifully and give off the right vibes, so let’s get started!
Preparation Checklist
Gather Your Supplies
First things first, before diving into the actual testing, it’s super important to get all your supplies ready. This means collecting the resin stone candles you want to test, a reliable lighter or match, and safety tools like heat-resistant gloves and a fireproof dish. Trust me, safety is paramount when you’re working with flames!
I also like to grab a notebook or my phone to jot down observations as I go along. This way, I can keep track of findings and compare them later. It’s not just about seeing if they burn; it’s knowing how they perform in real-time!
Lastly, consider the environment. Find a well-ventilated space that’s free from any flammable materials. Let’s keep those safety vibes high while we’re testing those beauties!
Set Up Your Testing Area
With all your supplies in hand, your next step is to set up a testing area. This should be a flat, stable surface that can handle any wax spills or heat. I often use an old table covered with newspaper or a dedicated testing tray. Trust me; you’ll thank yourself for being organized!
Make sure there’s good lighting, too. You want to see how the candle is performing clearly. A little light will help highlight any imperfections or flickering. If you’re serious about your tests, consider documenting with photos too!
And don’t forget your timing. Have a stopwatch or timer ready, as measuring how long these candles last is crucial for testing their quality. Timing can change the game in understanding longevity!
Safety First!
Okay, let’s not skip over the safety bit. I can’t stress this enough. Make sure you’re wearing those heat-resistant gloves when handling the candles during the burn test. You really don’t want to be playing with fire without proper protection!
Also, keep a fire extinguisher or a bucket of sand nearby. You never know when a rogue flame might jump out and say hello, so being prepared only makes sense. And remember, never leave a burning candle unattended. It’s just not worth it!
Lastly, consider the smoke. Some resins can produce more smoke than others, which is something you’ll want to watch for. Ventilation is key here to keep your air fresh and clear!
Conducting the Burn Test
Light It Up
Alright, let’s get to the good stuff—lighting the candle! Carefully light your resin stone candle using your trusty lighter or match. Take note of how easily it ignites. A great candle should light up without fuss!
As it starts to burn, observe the flame’s size. Is it steady and healthy, or does it flicker like it’s got stage fright? A healthy flame is a sign of a quality candle, while a flickering flame might indicate a problem with the wick.
Don’t forget to enjoy the scent wafting through the air too! That’s one of the main reasons we love candles, right? Take mental notes of how the fragrance evolves as the candle burns. You might notice it changing character as time passes.
Monitor the Burn Pool
One cool thing to do while burning your candle is to monitor the burn pool. This is the melted wax formed around the wick. Ideally, you want to see an even, smooth pool. If it pools unevenly or has any tunneling, that could indicate a problem with the candle’s design.
Pay attention to any soot that might start forming too. Some candles produce more soot than others, which can be a sign of poor-quality materials or wick issues. And don’t worry; it’s totally acceptable to stop the test and take notes if you see something funky!
Keep an eye on the burn rate too—how quickly the candle is melting. You want to balance between a good scent throw and a reasonable burn time. Fast melting can make it feel like your candle’s disappearing before your eyes!
Time It
Timing is everything, folks. As your candle burns, make sure to keep track of how long it takes to reach certain stages. How long till the first scent hit? How long until the full scent profile emerges? And how long does it take for it to burn out completely?
This data helps you compare candles more effectively later. Each candle can have a different burn time and if it burns too fast, it’s probably not the best choice for your space!
Collecting this information means you’ll be one step closer to finding the perfect resin stone candles for your personal collection, or even for gift-giving later on!
Analyzing Results
Document Your Findings
Alright, so once the testing is all wrapped up, it’s time to analyze what you’ve observed. If you took notes during the testing phase, now is when they’ll shine! Gather all that information—and don’t forget those sweet photos!
I love highlighting the pros and cons of every candle I’ve tested. It can be super helpful for future reference. Each candle is unique and a little analysis helps in making informed decisions when it comes to purchases later on.
Consider creating a rating system based on what matters most to you—burn time, scent throw, safety, etc. Relying on this structured analysis makes it easier for you to share insights with friends or fellow candle addicts!
Compare with Other Candles
This is the part where you don’t have to keep it all to yourself! Comparing notes with other candles you’ve tested offers incredible insights. Look for trends and performance differences—maybe certain brands consistently outperform others!
You might discover combinations of fragrances that work better together, or see which candles hold their scent longer as they burn. This step can be really helpful if you’re considering selling candles or sharing your love for candles with others.
Engaging with your community, whether online or in person, will give you even more perspectives. Fellow candle lovers have loads of insights to share, and who doesn’t love a community for their hobbies?
Share Your Findings
So, you’ve got all this valuable data—what now? Sharing your findings is not just fun; it’s crucial for keeping the candle-loving community informed! Writing reviews, posting on social media, or even starting a little blog can spread the love.
When sharing, be honest. Talk about both the highs and the lows of your candle experiences. Authenticity builds trust with others who may be considering purchasing from the same brands.
And honestly? Your voice might just help a newbie find their go-to candle. Ain’t that the best feeling? You’re contributing to a world where everyone can light their own unique candles without burning the house down—literally!
Frequently Asked Questions
1. How long should I test a resin stone candle?
The burn test should ideally last the entire burn duration until it extinguishes. Tracking the time gives you insight into its longevity and performance.
2. What are the signs of a poor quality candle?
Look for flickering flames, excessive soot, uneven burn pools, or scents that don’t evolve as expected. These can indicate low-quality materials or wick issues.
3. Can I use regular candles for the same testing process?
Absolutely! While this article focuses on resin stone candles, the principles are applicable to all types. You just have to watch for specifics related to each candle type.
4. Why is safety so important while testing candles?
Safety is crucial because flames can cause fires, and burning candles can emit soot or toxic fumes. Always handle candles with care and keep safety equipment handy!
5. How do I choose the best resin stone candle for me?
Choosing the best candle comes down to personal preference in scent, burn time, and price. Testing different types and documenting your preferences will guide your final choices!


