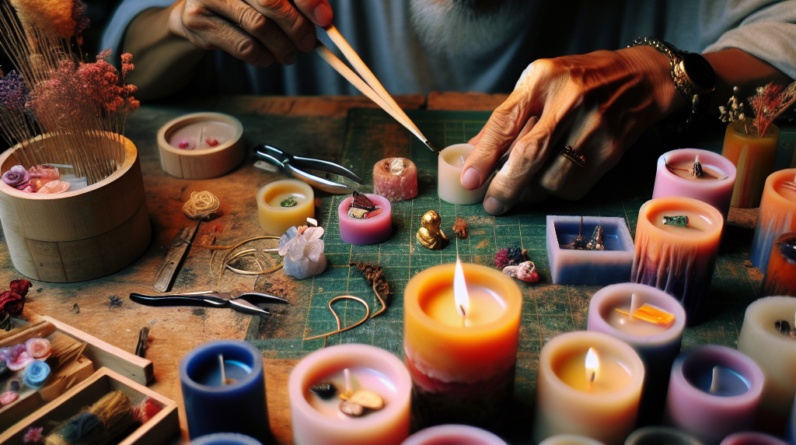
Hey there! I am super excited to share my journey into customizing resin candles for special occasions. Trust me, this is not only a fun craft but also a wonderful way to add a personal touch to any event. So, let’s dive into the magic of resin candles and get started on something special!
Choosing the Right Materials
Understanding Resin Types
First off, let’s talk about the different types of resin. Epoxy resin is the most popular because it’s easy to work with and cures to a beautiful, glossy finish. Then there’s polyester resin, which is super strong but a bit trickier to use. From my experience, I recommend sticking with epoxy for beginners – it’s forgiving and you can really make it shine!
Secondly, safety matters! Always ensure you’re using resin in a well-ventilated area and wearing protective gear. Trust me, you don’t want to deal with any nasty effects from fumes. Grab some gloves, a mask, and you’ll be set. This way, you can focus on the fun without worrying about the mess!
Last but not least, the colors! You’ll find all sorts of tints and pigments out there. I love using dyes specifically made for resin, as they are vibrant and mix in really nicely. Just a little bit can go a long way in transforming your candles into exquisite pieces of art.
Designing Your Candle Decor
Choosing Themes
When it comes to designing your resin candles, think about the occasion! For birthdays, I sometimes create candles that reflect the favorite colors of the birthday girl or boy. For weddings, pastel shades and floral elements really set the mood. It’s all about bringing a personal flair!
You can also think outside the box! For example, if you’re celebrating a holiday like Halloween, adding glitter and spooky shapes could really elevate your candles. Don’t hesitate to brainstorm and get creative; after all, this is your moment to shine!
Lastly, consider the placement of the candles. Are they going to be centerpieces? Or maybe gifts for your guests? This can influence your design choices as well. A tall, elegant candle could be perfect for a dining table, while a small votive would work wonders for individual place settings.
Incorporating Personal Touches
Add Personal Messages
A big part of customizing resin candles is adding those special little touches that make them unique. A phrase, a date, or even a personal inside joke can transform your candle from something pretty into a cherished keepsake. I love engraving messages into the candles before I pour the resin—it gives a one-of-a-kind feel that can’t be beat!
Make sure to plan your text wisely. A short, sweet phrase often works best. I suggest writing it out on paper first to visualize how it will look on your candle. You can even try a few different fonts to see what resonates the most!
Don’t forget about embellishments! Items like flowers, photos, or even small trinkets can be added into the resin. I once included tiny seashells in a beach-themed candle, and it made for an eye-catching conversation starter!
Creating and Curing Your Candles
Step-by-Step Process
Now, let’s get to the fun part: making the candles! Start by collecting your supplies – resin, molds, colors, and any decorative elements you’ve chosen. Mix your resin according to the instructions, and don’t forget to add your color here as well! You can literally watch the magic happen before your eyes!
Pouring the resin is one of my favorite moments, but take your time! Pour slowly to avoid bubbles. If you’re adding decorations, consider pouring a layer of resin first, allowing it to partially set, then adding your decorations and topping it off. This layered approach creates depth and looks stunning!
A lot of people forget the curing process, but it’s crucial! Let your candles sit undisturbed for the recommended time. Be patient—after all, good things come to those who wait! Once they are cured, you’ll be amazed by what you’ve created.
Showcasing Your Creations
Setting the Scene
After all that hard work, it’s time to show off your beautiful resin candles! Think about the best way to display them for your occasion. Elegant table settings, creative pedestal displays, or even simply clustered on a beautiful tray can elevate their look.
Lighting is key too! When arranging your candles, consider how they will interact with the light. Placing them where they catch a bit of sunlight or near some fairy lights can add an enchanting touch. Trust me—they’ll look as good during the day as they will at night!
Finally, don’t forget to share the love! Snap some pictures and post them on social media. Everyone loves seeing personalized creations, and you might inspire someone else to give it a shot!
FAQ
1. What type of resin should I use for candles?
For beginners, I highly recommend using epoxy resin. It’s user-friendly, has a great finish, and is easier to work with. Just make sure you follow all safety precautions!
2. Can I add fragrances to my resin candles?
You absolutely can! Just look for fragrance oils designed specifically for use with resin. Adding scents can really enhance the experience, making your candles even more inviting.
3. How long do resin candles take to cure?
Curing times can vary, but typically it takes 24-48 hours for the resin to fully set. Just be patient and resist the urge to touch your candles while they’re curing!
4. Are there any safety concerns when working with resin?
Yes! Always work in a well-ventilated area, and use protective gear like gloves and masks. Safety first, my friend!
5. What are some good occasions for these customized candles?
You can use these candles for any special occasion! Birthdays, weddings, anniversaries, holidays—really, whenever you want to add that personal touch to a gathering!
Hope you found my guide helpful! Happy crafting, and enjoy making those stunning resin candles!

