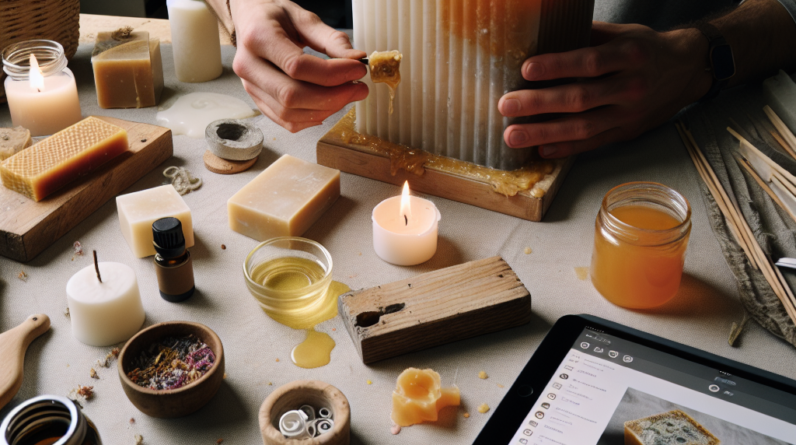
Gathering Materials
Choosing Eco-Friendly Resin
When I first dove into making resin candles, one of the most exciting parts was selecting the right eco-friendly resin. After some research, I discovered many options that are non-toxic and sustainable. Look for plant-based resins; they have a lower environmental impact compared to traditional petroleum-based ones. This choice not only makes my candles safer for my family and pets but also contributes positively to the planet.
Next, I found it helpful to check for certifications on the product labels. Certifications like Green Seal or similar can guide me in picking resins that prioritize eco-friendliness. As I learned more about the ingredients, I realized how important it was to understand what I was working with. The more I knew, the better decisions I could make.
Lastly, I keep an eye on the reviews and experiences of other crafters. Online communities are goldmines of information—sharing which brands worked well and which didn’t can save a lot of time and frustration. Plus, I love the sense of community that comes from exchanging tips and tricks with fellow candle-makers.
Other Essential Supplies
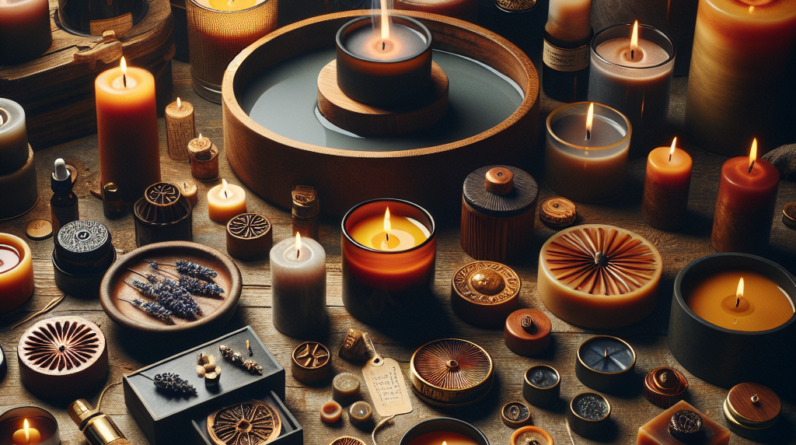
Once I’ve settled on the resin, it’s time to gather the other materials. I learned pretty quickly that the right tools and supplies can totally make or break the candle-making experience. I make sure to have things like molds, wicks, and scents at the ready. For molds, I try to find silicon ones, mainly because they’re reusable and easy to work with—no need for harsh chemicals that can pollute.
As for wicks, I’ve shifted toward natural options like cotton or wood. They burn cleaner and give the candle a beautiful flame, adding to the ambiance of whatever room I light them in. Plus, I’ve found that wood wicks create a nice crackling sound, which is super cozy during the colder months.
Scent is another area I enjoy experimenting with. I lean toward biodegradable fragrance oils or essential oils, which not only smell amazing but also align with my eco-friendly goals. Just a few drops can turn a plain candle into a delightful aromatic experience, and I’ve especially enjoyed blends that reflect my favorite seasons.
Setting Up Your Workspace
Now that I’ve gathered everything, it’s time to set up my workspace. Trust me, having a clean and organized area makes a world of difference. I ensure I have good ventilation since working with resin can release fumes that aren’t great for the lungs. I usually open a window or set up fans to keep the air flowing.
I also like to cover my surfaces with newspaper or disposable tablecloths. Let’s be real—resin can be messy! It’s much easier to toss out a table cover than to scrub dried resin off countertops. Having a designated spot for each tool and material keeps me focused and prevents any last-minute scrambling.
Finally, I’ve started incorporating some calming music while I craft; it helps the process feel more joyful and less like a chore. Setting the right mood not only makes it enjoyable but also sparks creativity, leading me to try out new colors and shapes that I hadn’t thought of before.
Choosing Molds and Designs
Exploring Different Molds
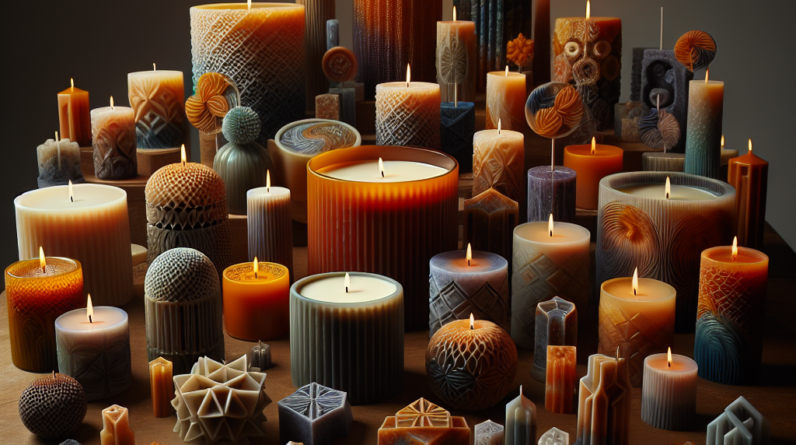
One of the most fun parts of making candles is choosing the molds. I love browsing online to find unique shapes and sizes that fit my style. From classic round candles to funky geometric designs, the options are endless! Sometimes I even make custom molds using silicone kits; it’s a bit of extra work, but totally worth it for truly one-of-a-kind pieces.
I’ve also discovered that the mold material matters. Silicone molds are my go-to because they’re flexible and allow for easy removal once the candle is set. Plus, they’re reusable, which is a bonus for anyone who wants to minimize waste.
Keep in mind that the size of the mold can affect how long the candle burns, so I always pay attention to those details. Experimenting with various shapes has helped me learn what works best for different types of scents, too—some scents are stronger and thrive in larger molds, while others shine in smaller, more condensed shapes.
Adding Decorative Elements
What I love even more is sprinkling in decorative elements based on the season or my mood. Adding dried flowers, herbs, or even glitter to the resin can give candles that unique flair. When I made candles for friends’ birthdays, I tailored each one with their favorite colors and scents, which was a huge hit!
Another fun element is embedding decorative objects inside the candle, like seashells or crystals. It gives my creations a personal touch, and people often say they feel more special with these additional features. Just be sure that whatever you add is safe to burn!
I’ve also started playing around with layering colors in my candles. It takes a bit of practice, but the result is super eye-catching. Combining different resins and pouring them carefully can create beautiful ombre effects that make the candles look stunning.
Coloring Your Candles
Getting the right color for your candles is another creative outlet. I’ve tried both dyes and natural colorants. Each brings its own vibe. While dyes offer vibrant hues, natural colorants like turmeric or beetroot powder give a more muted, earthy tone, which I often prefer.
When mixing colors, I like to start small. I’ll add a few drops of dye to a cup of resin and mix until I see the shade I want. The colors tend to deepen as the resin sets, so it’s wise to not overcommit too early. It’s such a rewarding moment when the finished product matches what I envisioned!
Lastly, I’ve discovered it’s fun to create themed candles with colors that resonate with different holidays or occasions. This not only channels my creativity but also makes for perfect gifts that friends and family genuinely appreciate.
Pouring and Curing the Resin
Preparing for the Pour
Alright, here comes the big moment—pouring the resin! Before I jump in, I always double-check everything is in place. I make sure to mix the resin according to the instructions because, honestly, every brand has its quirks. It’s crucial to measure out the resin and hardener correctly for it to set right.
I also love to pour my resin slowly and steadily. It may seem tedious, but I’ve learned that rushing can lead to bubbles—a total mood-killer for those beautiful finished candles. If I do see any bubbles pop up, a quick torch or heat gun usually helps to smooth things out.
Lastly, I make sure to keep an eye on the temperature, too. Resin sets best at room temperature, and fluctuations can affect its curing time. I remember one winter pouring a batch during a cold snap; let’s just say it didn’t go as planned! Lesson learned: heeding the weather can save some frustration.
Curing Process
Curing takes patience, which, let’s be honest, can be tough! I typically let my candles cure for at least 24 hours; however, I’ve read some say up to 72 hours for optimal results. While I wait, I make sure to keep them in a dust-free area.
During the curing process, I try not to touch the candles to prevent fingerprints from marring the surface. This is another reason why it’s nice to have a designated space where they can chill undisturbed. I find that having other crafting projects lined up helps with that wait time—keeps my creative juices flowing!
Once they’re finally cured, I can’t help but do a little happy dance. It’s such a rewarding feeling to see all the hard work pay off, and I love that moment of peeling them out of the molds. It never gets old!
Final Touches
Before calling them done, I like to trim the wicks to about a quarter inch above the candle. It ensures an even burn and prevents any soot buildup. I’ve learned the hard way that too long of a wick can turn a lovely evening candle into a smoky disaster!
If I’ve used fragrances, I often like to label my candles thoughtfully. Sometimes I take it a step further and create personalized labels for gifts—they add that perfect finishing touch. Plus, it helps in keeping track of which scents I have for different seasons.
Lastly, I’ve started considering packaging when gifting or selling my candles. Choosing eco-friendly packaging not only aligns with my values but also adds to the excitement when someone receives their candle. I love browsing for neat ways to present them attractive yet sustainable!
Safety First
Understanding Safety Precautions
Safety should always be a priority, especially when working with resin. I make it a point to wear gloves, safety glasses, and even sometimes a mask if the area isn’t well-ventilated. There’s no need to take any risks when a little preparation can go a long way.
I also keep all my materials out of reach of children and pets. Resin can look super appealing, but it’s important to inform anyone around that it’s a craft supply and not a toy! Setting boundaries is key to ensuring a safe crafting environment.
A good tip I’ve learned is to have a first-aid kit nearby, just in case. While I haven’t had any major mishaps, it’s great to be prepared. Not only does it ease my mind, but it also allows me to focus more on the fun aspect of candle making!
Storing Your Finished Candles
After my eco-friendly candles are ready to shine, I take extra care in how I store them. I always keep them in a cool, dry place away from direct sunlight to prevent any discoloration over time. I find that using cloth bags or boxes helps protect them, especially when I know they’ll be sitting for a while before I gift or sell them.
I also try to label containers if I’m storing various scents or colors. It’s surprisingly easy to mix them up, especially when I’m deep into crafting mode! Being organized not only saves time but also helps me maintain my creative flow.
Lastly, I encourage you to enjoy your creations! Whether lighting them for yourself, giving them out as gifts, or using them for a special occasion, it’s all about sharing the joy that comes with handmade products.
Conclusion
In conclusion, making eco-friendly resin candles has been one of the most fulfilling and enjoyable hobbies for me. Not only do I get to express my creativity, but I also get to contribute positively to the environment. From gathering materials to pouring and curing, every step is an adventure worth taking. Plus, with a little patience and practice, anyone can master the art of candle making!
FAQ
1. Can I use regular resin for candle making?
No, it’s best to use eco-friendly or specifically formulated resin for candle making. Regular resins can release harmful fumes and might not burn well.
2. How do I scent my candles?
You can use biodegradable fragrance oils or essential oils. Just be sure to follow the recommended addition rates for the resins you are using.
3. Are the molds reusable?
Yes! Silicone molds are reusable and easy to clean, making them a great option for continuous candle making.
4. How long does it take for the candles to cure?
Typically, it’s recommended to let your candles cure for at least 24 to 72 hours, depending on the type of resin used.
5. What if I experience bubbling in my resin?
If bubbles form during your pour, using a heat gun or torch can help. Just be careful not to get too close, as you don’t want to burn your resin!

