Silicone Molds: The Go-To Option
Why Choose Silicone?
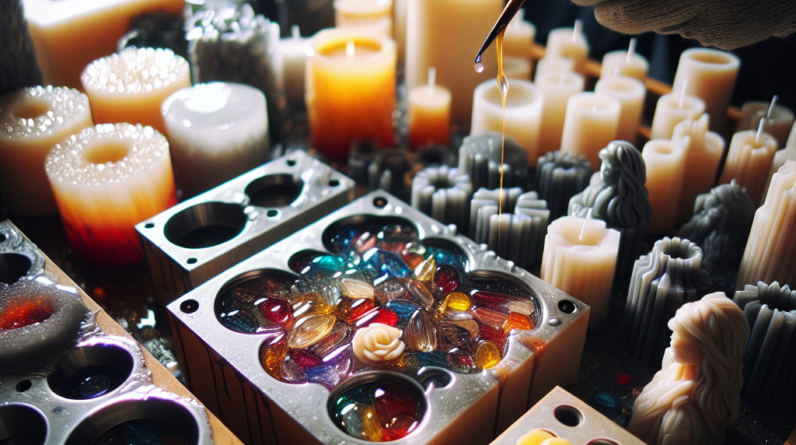
Let me tell you, silicone molds are a game-changer in the resin candle making world! First off, they’re super flexible, which means removing your finished product is a breeze. You’ll never have to deal with the frustration of a candle getting stuck in a rigid mold.
Also, silicone can handle heat like a champ. Most silicone molds are made to withstand high temperatures, ensuring that the resin cures properly without any weird deformities. This heat resistance also means you can use them for various crafts beyond just candles, which is such a bonus!
And the best part? They come in countless shapes and sizes. Whether you’re hoping to create simple geometric candles or intricate designs with a personal touch, there’s a silicone mold that will fit your needs perfectly.
How to Use Silicone Molds
Using silicone molds for resin is pretty straightforward, but here’s how I always approach it. First, I prepare my workspace and lay out all the tools. Make sure you have your resin, colorants, and embellishments before you start.
Next, I always apply a release agent before pouring in the resin. Even though silicone is non-stick, I like to be extra cautious just in case. Once you’re ready, mix your resin according to the package instructions and pour it slowly into the mold, taking care to avoid bubbles.
Finally, let your piece cure as directed. After it’s set, you’ll be amazed at how easily it pops out of the mold—no hassle, just beautiful candles!
Pros and Cons of Silicone Molds
Now, like anything else, using silicone molds comes with its own set of pros and cons. On the upside, as mentioned, they’re flexible, reusable, and come in a variety of forms. Plus, they’re relatively easy to clean—just a little soap and water, and you’re good to go!
On the flip side, silicone molds can sometimes be a bit pricier than traditional ones. Another thing to keep in mind is that they can wear out over time, especially if you’re using them a lot for high-heat projects.
Overall, though, the benefits far outweigh the drawbacks. If you prioritize ease of use and design variety, silicone molds should definitely be on your radar.
Hard Plastic Molds: Sturdy Choices
Why Opt for Hard Plastic?
Hard plastic molds have a different vibe than silicone, and they can be a great choice depending on your project. I find that these molds are incredibly durable and can give you a snug fit, which is particularly useful for more intricate candle designs.
One significant advantage to hard plastic molds is that they’re usually cheaper per mold than silicone options. So if you’re just starting out, or if you’re experimenting with different styles, they could be an easier investment.
Plus, they often come in cool designs that provide a classic candle look. If you’re aiming for a more traditional aesthetic, hard plastic molds might be your best friend!
Working with Hard Plastic Molds
When I use hard plastic molds, I tend to take a slightly different approach. Since these molds aren’t flexible, I always make sure I prepare the mold with a release agent to ensure my candles pop right out.
After mixing your resin, it’s crucial to pour it in slowly to avoid trapping air. Once the mold is filled, I recommend letting it cure completely—take your time, as rushing this step might compromise your candle’s integrity.
When it’s finally time to demold, be gentle. I like to tap the edges or use a bit of pressure on the bottom to dislodge the candle. It’s always such a thrill to see the finished product come to life!
Pros and Cons of Hard Plastic Molds
Hard plastic molds have their perks, such as their durability and affordability. They’re also less likely to deform over time, which gives you more predictability in your candle-making process.
However, they can be tricky when it comes to removing your candle. You need to be cautious to ensure you don’t ruin your handiwork while trying to get it out. Additionally, they’re not as versatile as silicone molds since they can’t easily adapt to different shapes.
Despite these issues, I find that they’re still a good option, especially for beginners who want to explore resin candle making without breaking the bank.
Unique Molds: Get Creative!
Expanding Your Mold Game
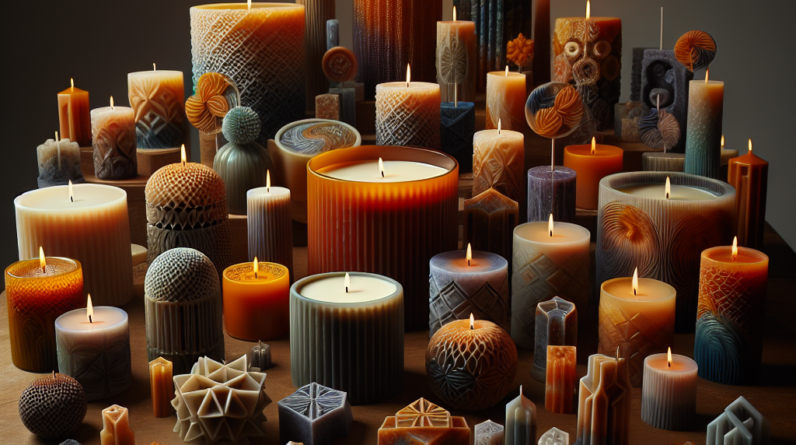
Here’s where it gets really fun! Unique molds can come in so many creative forms—geodes, floral shapes, or even themed designs like holidays or seasons. When I want to add a special touch to my candles, I love exploring unique molds!
The variety can really help personalize your candles. Think about making a rose-shaped candle for a romantic dinner or a star for a festive occasion. These creative molds definitely have the ability to turn heads and impress your friends!
Exploring unique molds can also inspire you to try new techniques and color combinations, pushing your creative limits. Who knows what beautiful results you might achieve?
How to Use Unique Molds
Using unique molds may seem intimidating at first, but I assure you it’s worth it. I always start with a clean, dry mold, and I think about how I want my candle to look. Mixing colors is super fun; sometimes, I’ll even layer colors for a cool effect!
Pouring into unique molds can also be an art form. I find that using a squeeze bottle helps control my pour and minimizes the chance of bubbles. Let your imagination run wild with the design and shape of your candles!
After pouring, it’s essential to let it cure fully before removing it. Patience is key here, and the reward is totally worth it when you reveal your unique creation!
Pros and Cons of Unique Molds
One of the biggest advantages of unique molds is that they allow for a lot of creativity. You can make candles suited for any occasion or theme, which makes your finished products that much more enjoyable!
But on the downside, unique molds can be more challenging to work with. Some designs may require more pouring skill, and they can be pricier than standard molds. Plus, certain shapes can make it more difficult for you to get the candle out without damaging it.
Still, if you’re looking to ignite your crafting spirit and create something truly special, investing in unique molds is definitely the way to go!
DIY Molds: Perfect for Experimentation
Making Your Own Molds
Alright, let’s get adventurous! DIY molds can take your candle-making game to the next level. For me, making my own molds started as a curious experiment, and it quickly became a fun hobby in itself.
The beauty of DIY molds is that you can create virtually anything you can imagine. I love the freedom of pouring resin into everyday items – think silicone baking molds, plastic containers, or even fun shapes made from clay!
Crafting your own molds can save money and allow for an ultra-personalized touch. You can customize them to fit your style or even match your home’s decor!
How to Create a DIY Mold
Creating a DIY mold is pretty straightforward. I usually begin by gathering silicone molding materials, which you can find at many craft stores. Simply follow the instructions on the package for mixing and pouring.
After you mix, pour the silicone over whatever shape or object you want to create a mold of. Be patient and allow it to cure thoroughly. Once it sets, you can remove your original object and voilà—you’ve got yourself a custom mold!
It’s honestly so fulfilling to see something you created come to life. Plus, now you can make multiple candles in that unique shape over and over again!
Pros and Cons of DIY Molds
DIY molds have the ultimate advantage of customization. You have the creative control to make exactly what you envision, which is an absolute thrill! Not to mention, you can recycle items around your home.
However, some challenges come with DIY molds. They can take a bit more time to create initially and may require some trial and error to get the design just right. There’s also a bit of a learning curve when working with new materials.
Despite this, I can’t stress enough how rewarding DIY molds are. If you’re feeling adventurous and seek to explore, give yourself the chance to dive into this creative avenue!
Conclusion
As we wrap up our exploration of molds for resin candle making, it’s clear that there’s no one-size-fits-all solution. From versatile silicone molds to sturdy hard plastic options, unique shapes, and even the do-it-yourself route—you have choices that suit every creative spirit.
If you’re just starting out, I’d recommend trying a few different types of molds to see what you like best. The exciting journey of candle making is filled with unique designs, techniques, and personal flair. Remember to have fun while you’re at it!
So go ahead, grab some resin, and start crafting your beautiful candles! Your next masterpiece is just around the corner!
FAQ
1. What are the best types of molds to use for beginners in resin candle making?
For beginners, silicone molds are often the best choice. They’re flexible and easy to work with, making it simpler to remove your candles once they’ve cured.
2. Can I use everyday objects as molds for my resin candles?
Absolutely! You can use everyday items like plastic containers or silicone baking molds to create unique candle shapes. Just ensure they’re clean and suitable for resin use.
3. How do I prevent bubbles when pouring resin into molds?
To avoid bubbles, pour your resin slowly and from a height. You can also use a heat gun or torch afterward to help pop any bubbles that form on the surface.
4. Are unique molds more challenging to work with than traditional ones?
They can be, yes. Unique molds might require more care and attention, especially in how you pour the resin. However, they offer fantastic creative opportunities!
5. What should I do if my resin doesn’t cure properly in the mold?
If your resin doesn’t cure, it’s typically due to an incorrect ratio of resin to hardener, or environmental factors like humidity and temperature. Make sure to follow your resin’s instructions closely for the best results.
Related Content
- Candle Trends for 2024: Why Resin Candles Are Leading the Way
- Unlock the Hidden Power of Resin Stoned Candles: Transform Your Home with Style
- How to Write Engaging Product Descriptions for Resin Candles
- Why Resin Crystal Candles Are Becoming the Ultimate Trendsetter in Home Décor
- How to Use Social Proof to Sell More Resin Candles


