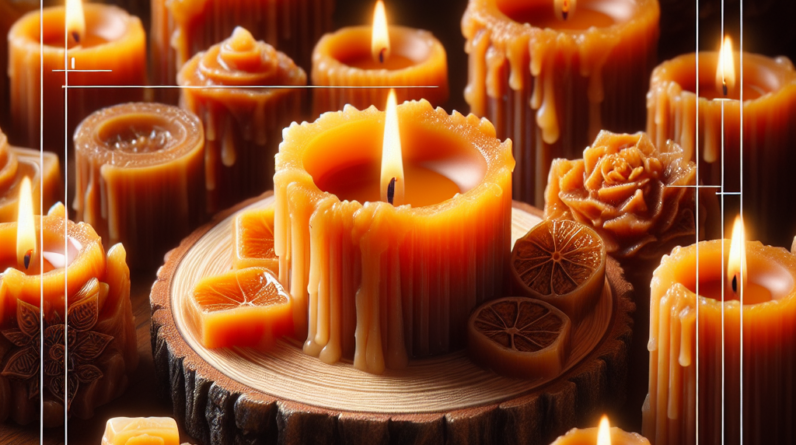
Understanding the Basics of Resin Candle Making
What is Resin Candle Making?
So, let’s dive into the world of resin candle making! At its core, this hobby is about creating stunning and unique candles using resin as the main ingredient. Unlike traditional wax candles, resin offers a plethora of possibilities in terms of aesthetics and personalization. You can embed flowers, glitter, or even photographs! The fun starts with the resin itself, a versatile material that can be colored and shaped however you like.
What draws me to resin candle making is its artistic nature. It feels like a blend of science and art, where the chemical reactions create a masterpiece right before your eyes. Whether you’re doing it for relaxation or as a creative outlet, it’s super satisfying to see your ideas come to life. Trust me, nothing beats the satisfaction of crafting something with your own two hands!
I remember my first attempt at making a resin candle—it was messy, there were spills, and I was a bit frazzled! But the end result? Absolutely beautiful! It ignited a passion in me to explore this craft even further, and I know it can do the same for you.
Gathering Your Materials
What You’ll Need
Now, let’s talk about what you need to get started. Resin candle making is quite accessible; you don’t need a ton of fancy tools, but there are essentials that I wish I had known about from the get-go. First and foremost, you’ll need resin itself. Look for high-quality epoxy resin—it’s durable and works like a charm for candle making.
Next on the list is a mold. Silicone molds are the best choice because they’re flexible and can make your life a whole lot easier when it’s time to demold your candles. Don’t forget safety gear! Gloves and a mask are critical; the resin can release fumes that you don’t want to inhale while you’re experimenting.
Also, I really suggest getting some colorants and additives. You can find dyes specifically meant for resin, as well as other fun things like glitter or essential oils for scents. Choosing colors can sometimes feel like an art project in itself, and I always enjoy mixing and matching until it feels just right!
Preparing Your Workspace
Setting Up for Success
Workspace is key when it comes to a messy hobby like this! Find a flat, comfortable surface where you won’t mind a bit of mess. I’ve worked at my dining table before, but boy, did I regret it when it stained. A clean, well-ventilated area is essential. Make sure to open those windows and let some fresh air in; your future self will thank you!
I always lay down a protective covering—like a plastic sheet or old newspapers—on the table. Accidents happen, and trust me, resin is not easy to clean up once it hardens. Don’t forget to have all your tools and materials organized and within reach. It makes the process flow so much smoother!
Also, remember to check the temperature and humidity of your workspace. Resin doesn’t like extreme conditions, and working in a controlled environment helps prevent mishaps. I learned this the hard way during a particularly hot summer when my mix didn’t set right because my room was too warm!
Mixing and Pouring Your Resin
The Magic Happens Here
Alright, this is where the excitement really kicks in! Once you have everything set, it’s time to mix your resin. Generally, you’ll need to follow a 1:1 ratio for the resin and hardener, so read the instructions carefully. I usually use a scale to measure it precisely. It’s crucial because if the proportions are off, it could lead to a sticky mess instead of a perfect candle!
Mix the two components slowly to avoid creating bubbles, which can ruin your aesthetic. I always mix for about three minutes, scraping the sides of the bowl to ensure everything is combined. When it comes to coloring, I add the dye gradually until I achieve the desired hue—this can be the most fun part!
After mixing, pour the resin into the molds gently. I usually start in the middle and let the resin spread outwards to minimize bubbles. Blowing on the surface or using a heat gun can help pop any stubborn bubbles that make an appearance. Patience is vital, and don’t rush the process—great things take time!
Final Touches and Curing Your Cleanses
Taking Care of Your Candles
Once your candles are poured, let them sit undisturbed in a level area for at least 24 hours. While waiting can be tough, it’s crucial—the resin needs this time to cure properly. I like to use this time to plan my next projects or even clean up my area, which makes the whole process feel better organized!
After waiting, carefully demold your candles, and inspect them for any imperfections. If you find any rough spots, a little sanding can make all the difference. I’ve also enjoyed adding a layer of topcoat resin to my candles for a glossy finish. It really takes the aesthetic to the next level!
Finally, don’t forget the scent! If you want to add fragrances, do it after demolding. You’d be surprised at how transformative a good scent can be. Once you’ve done that, they’re ready for use or gifting. And trust me, everyone will be impressed with your new skill!
Frequently Asked Questions
What materials do I need to start resin candle making?
You’ll need resin and hardener, silicone molds, gloves, colorants, and any decorative items you wish to include, like flowers or glitter. Don’t forget to have safety equipment to protect yourself while working!
Is resin candle making safe?
As long as you take proper safety precautions, resin candle making can be safe. Always work in a well-ventilated area and wear gloves and a mask to avoid inhaling fumes and coming into contact with uncured resin.
How long does it take for resin candles to cure?
Curing times can vary, but generally, it takes about 24 to 48 hours for the resin to fully harden and cure. It’s best to wait until the resin is completely set before demolding.
Can I add scents to my resin candles?
Absolutely! You can add proper fragrance oils specifically designed for use with resin. Be sure to add them after the candles are demolded to avoid any unwanted reactions.
How do I clean up my workspace after making resin candles?
Clearing up resin can be tricky. Start by wiping up any wet resin with paper towels. Once it hardens, you can scrape it off surfaces. Keeping your tools clean as you work can help minimize mess and save you the hassle later!


