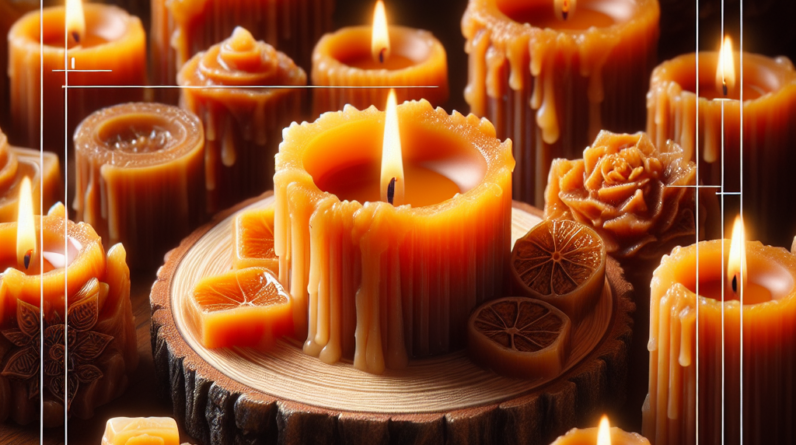
Hey there, fellow candle makers! I’ve spent quite a bit of my time crafting resin candles, and I’ve definitely had my fair share of oops moments. So, let’s dive right into how we can correct some common mistakes that can crop up in the fabulous world of resin candle making.
Choosing the Right Materials
Understanding Resin Types
The first step in making beautiful resin candles is picking the right type of resin. I can’t tell you how many times I’ve grabbed the wrong one, thinking all resins are created equal. Nope! Some are designed for specific uses, and using the wrong kind can lead to issues like uneven curing or a sticky finish.
For example, epoxy resin is popular due to its clarity and strength, but it can be a bit costly. Polyurethane resin is budget-friendly, but it might not have the same glossy finish. Before you choose, make sure to do a little research to understand the properties of each type.
Once you get the hang of it, choosing the right resin will become second nature, and you’ll start creating candles that not only look good but last long too!
Selecting Wicks Wisely
Wicks are like the unsung heroes of candle making. Choosing the wrong wick can totally mess up your candle. I’ve learned the hard way that a wick that’s too small results in a puny flame, while one that’s too big can lead to a roaring inferno—yikes!
It’s essential to match the wick size to the diameter of your candle. There are different materials, too—wooden wicks give a cozy crackle, while cotton wicks are straightforward and reliable. Do a little trial and error, and pay attention to how your candle burns.
Trust me, the right wick can make a world of difference in achieving that perfect burn and scent throw!
Quality Fragrance Oils
Next up, let’s talk about fragrance oils. The smell of your candles is almost as important as the look, maybe even more! I’ve had experiences where I thought I’d chosen a great scent, only to realize it faded completely when burned. Such a buzzkill!
To avoid this, always opt for fragrance oils suited for resin. Those special formulas will hold up better during the curing process and release delicious aromas when you light your candle. Make sure to check the fragrance load percentage, as you don’t want to go overboard either!
Also, experimenting with blending scents can lead to some delightful surprises—just keep notes so you can replicate your best combos.
Mixing and Pouring with Care
Proper Measuring Techniques
One of the biggest blunders I made was being casual about my measurements. Listen, precision is key in resin crafting! If you don’t measure your resin and hardener correctly, you could end up with a gooey mess.
I’ve found that using a scale is a game-changer. Measuring by weight rather than volume gives more accurate results. Trust me, it’ll save you tears in the long run!
And don’t try to eyeball it, even if you’ve done this a hundred times—every resin has its specific mixing ratio! Take the extra few minutes to measure precisely.
Mixing Dynamics
After measuring, the next phase is mixing, which is as important as the other steps. I used to think I could just whisk it all together casually, but that ended in lots of bubbles—no one wants that!
Use a stirring stick and mix gently to avoid introducing too many air bubbles. Scrape the sides of your mixing container too, making sure all the material is incorporated. This will help you achieve a clear and smooth finish.
Another tip: if you’re adding colorants, mix them in thoroughly before pouring. That way, you’ll get consistent coloring throughout your candle.
Poring at the Correct Temperature
Poor temperature management? Yeah, I’ve been there. Pouring the resin too hot can lead to cracks or even bubbles. Experimentation taught me that waiting for the right temperature, generally around 70-75°F, is crucial before pouring.
It’s also wise to check the resin instructions for specific pouring temperatures. Sometimes they can vary, especially between different brands. Taking this step seriously can elevate your candle game significantly!
So grab a thermometer and keep an eye on it. It’s simple yet vital!
Finishing Touches and Curing
Patience is a Virtue
Once your candles are poured, I know it’s tempting to want to take them out of their molds right away. But resist that urge! Letting them cure fully often requires 24-48 hours, depending on the resin. It’s like waiting for your pizza to come out of the oven—you want it perfect, not doughy!
During this curing period, avoid moving them too much. Keeping them undisturbed ensures a nice clean finish. It feels like forever at times, but your patience will reward you with a beautiful result!
If you rush the process, you may end up with uneven surfaces or even tacky spots—trust me, it’s worth the wait.
Proper Demolding Techniques
When it’s time to demold, I always approach this carefully. If your resin isn’t fully cured, pulling it out can lead to misshapen candles or tears. I gently wiggle the sides of the mold to loosen them up, and if necessary, use a craft knife to help out.
Always have a plan for demolding, and consider using mold release spray next time if you’re having trouble. It makes a significant difference and saves you the stress of damaging your candles!
Remember, well-cured resin will pop right out with minimal fuss!
Final Presentation Insights
Last but not least, pay attention to how you present your candles. I once had a beautifully crafted candle that I almost ruined with sloppy labeling. A nice touch like a well-fitted label or a decorative box can elevate the appeal of your polished candle creations.
Consider wrapping up candles as gifts or for sales with charm. It’s those little details that make a huge impact. You want your audience to feel the care you put into every aspect!
Investing time in the presentation will serve you well, whether for personal use or a budding business.
FAQs
Q1: What type of resin should I use for candle making?
A1: The best choices are generally epoxy or specially formulated candle resin. Epoxy gives a clear finish, while other resins might be more cost-effective.
Q2: Why is the wick so important in resin candle making?
A2: The wick influences how your candle burns. A properly sized wick ensures an even burn without creating soot or excessive smoke.
Q3: How can I avoid bubbles in my resin?
A3: Mix gently when combining resin and hardener to prevent introducing air. Use a heat gun or torch to pop any bubbles that may emerge on the surface.
Q4: How long should I let my candles cure?
A4: Ideally, let your candles cure for 24 to 48 hours to ensure they are fully set and ready for use.
Q5: What can I do if my resin candles are sticky?
A5: Sticky candles often result from incorrect mixing ratios. If this happens, you may need to pour a new layer of properly mixed resin to seal the surface or allow more curing time.


